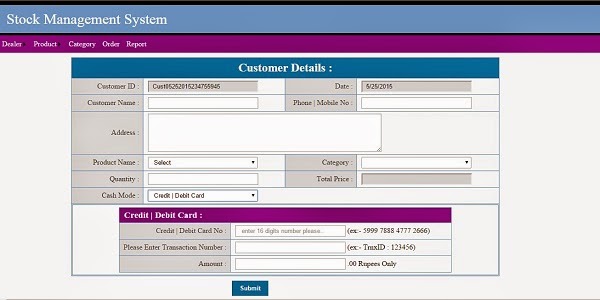
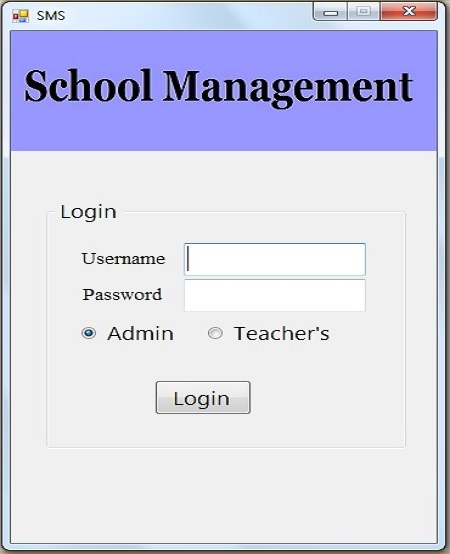
In my previous articles, we delved into the intricacies of C#.NET, exploring topics such as exporting DataGridView to Excel, creating a Speech Translator, and generating Barcodes. Today, let's shift our focus to a powerful concept in C#.NET development—User Controls.
Unveiling User Controls
A User Control in C#.NET is a user-defined container that encapsulates a set of controls and functionalities. Essentially, it allows developers to create a custom control with a user interface, including buttons, textboxes, and more. The beauty lies in the reusability it offers—design the interface once, and deploy it across multiple forms, preventing the repetition of design and code.
Advantages of Using User Controls
The primary advantage of employing User Controls is to eliminate redundancy in design and code. This is particularly beneficial when designing common headers for various forms within a project. It serves as a container for controls, ensuring easy management and maintenance.
Differentiating User Controls and Forms
Let's dissect the disparities between User Controls and Forms, crucial for understanding their roles in C#.NET development.
| Sl.No | User Control | Form |
|---|---|---|
| 1 | It‘s a container for other controls. | It‘s also a container for other controls. |
| 2 | It can‘t run individually. | It can run individually. |
| 3 | It inherits a pre-defined class called "System.Windows.Forms.UserControl" | It inherits a pre-defined class called "System.Windows.Forms.Form" |
| 4 | It is meant for re-usability. | It is meant for direct execution. |
Implementation of User Controls
Now, let's dive into the practical aspect—implementing User Controls in your C#.NET projects.
1. Create User Control
- Navigate to the "Project" menu and select "Add User Control."
- Provide a name for the new user control and click "Add."
2. Design and Develop the User Control
- Design the user interface by dragging controls from the toolbox.
- Write code in the "Code window" to add functionalities (supports event handlers similar to forms).
3. Invoke the User Control
- Open the required form and build the project.
- The user control name will be displayed in the toolbox automatically.
- Drag and drop the user control from the toolbox into the form designer to invoke it.
User Controls Demo Project
Let's conclude with a hands-on example to solidify our understanding.
- Create a Windows Application Project.
- Add a User Control named "Title."
- Design the user control to display date and time.
- Set properties for the control's timer.
- Write code to update date and time.
- Build the project, and the "Title" user control will be added to the toolbox.
- Drag and drop it onto the form, and voila!
- Set the properties of "Timer1"
- Enabled: True
- Interval: 1000
- Double click on the user control and write the code.
- Double click on the user control and write the code.
     private void Title_Load(object sender, EventArgs e)
       {
        lbldate.Text = DateTime.Now.ToLongDateString();
        lbltime.Text = DateTime.Now.ToLongTimeString();
       }
     private void timer1_Tick(object sender, EventArgs e)
      {
        lbldate.Text = DateTime.Now.ToLongDateString();
        lbltime.Text = DateTime.Now.ToLongTimeString();
      }
Note: For broader usability, consider creating the user control in "Windows Forms Control Library."
Incorporating User Controls in your C#.NET projects not only enhances reusability but also streamlines development by minimizing redundancy. Embrace this powerful feature to create more efficient and maintainable applications. Happy coding.


0 Comments