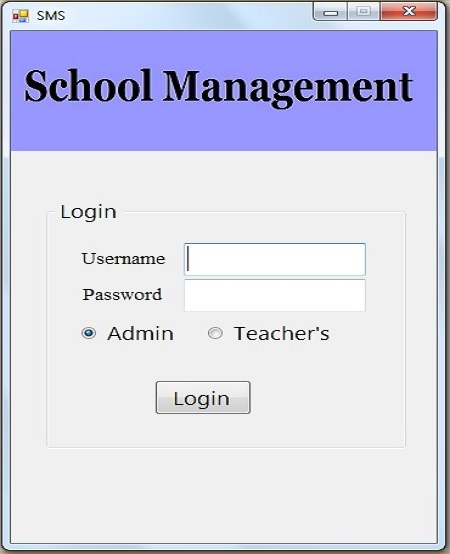
Greetings, fellow developers! Today, we're diving into the exciting world of web development to learn how to create a stunning login page with captivating background images using ASP.NET. A visually appealing login page not only enhances user experience but also adds a touch of professionalism to your web application. So, let's roll up our sleeves and get started!
CSS Magic: Designing the Look and Feel
In the world of web design, Cascading Style Sheets (CSS) play a pivotal role in crafting the visual aesthetics of a page. In our tutorial, we use CSS to style our login page elements, ensuring a seamless and attractive user interface. Here's a snippet of the CSS code responsible for the magic:
 <style type="text/css">
     .textbox_username
     {
         background:url("Images/username.jpg") no-repeat;
     }
     .textbox_pwd
     {
         background:url("Images/password.jpg") no-repeat;
     }
     .textbox
     {
         padding:7px 10px 7px 40px;
         width:200px;
         border:1px solid #dddddd;
         border-radius:5px;
     }
     .Button
     {
         padding:7px 20px 7px 20px;
         background:linear-gradient(#141414, #333333);
         color:#fafafa;
         font-size:1em;
         font-weight:bold;
         border:1px solid #333333;
     }
      .Button:hover
     {
         padding:7px 20px 7px 20px;
         background:linear-gradient(#333333, #141414);
         color:#ff0000;
         border:1px solid #333333;
     }
    </style>
This CSS code defines styles for the username and password input boxes, as well as the login button. The use of background images adds a touch of creativity to the otherwise conventional login form.
HTML Elegance: Integrating the Styles
Now that we have our CSS in place, let's seamlessly integrate it with the HTML code. Below is a snippet of the HTML code responsible for constructing the login page:
<%@ Page Language="C#" AutoEventWireup="true" CodeFile="Login.aspx.cs" Inherits="Login" %>

<!DOCTYPE html PUBLIC "-//W3C//DTD XHTML 1.0 Transitional//EN" "http://www.w3.org/TR/xhtml1/DTD/xhtml1-transitional.dtd">

<html xmlns="http://www.w3.org/1999/xhtml">
<head>

</head>
<body>
    <form id="form1" runat="server">
    <div>
     <asp:TextBox ID="txtusername" CssClass="textbox_username textbox" runat="server" placeholder="Username"></asp:TextBox><br /><br />
     <asp:TextBox ID="txtpassword" CssClass="textbox_pwd textbox" runat="server" placeholder="Password"></asp:TextBox><br /><br />
     <asp:Button ID="Btn_Login" CssClass="Button" runat="server" Text="Login" />
    </div>
    </form>
</body>
</html>
This HTML snippet incorporates ASP.NET controls for the username and password input fields, as well as the login button. The integration of CSS classes enhances the visual appeal, creating a cohesive and stylish login form.
Putting It All Together: A Harmonious Blend
To tie everything together, we include the CSS code within the <head> section of our HTML document, ensuring that our styles are applied seamlessly. Here's the relevant snippet:
<%@ Page Language="C#" AutoEventWireup="true" CodeFile="Login.aspx.cs" Inherits="Login" %>

<!DOCTYPE html PUBLIC "-//W3C//DTD XHTML 1.0 Transitional//EN" "http://www.w3.org/TR/xhtml1/DTD/xhtml1-transitional.dtd">

<html xmlns="http://www.w3.org/1999/xhtml">
<head runat="server">
    <title></title>

---------   ADD CSS CODE HERE    ----------

</head>
<body>
--------
</body>
</html>
With this, our login page comes to life, combining the power of HTML and CSS to deliver a visually stunning and user-friendly experience.
In conclusion, creating a login page with background images in ASP.NET doesn't have to be a daunting task. By harnessing the power of CSS for styling and HTML for structure, you can elevate the aesthetics of your web application. So, go ahead, implement these techniques, and let your login page make a lasting impression! Happy coding!


0 Comments